The eXceed Workflow

Upload
Records
Records
STL Model Files, Intra- and Extra Oral Images, X-Rays

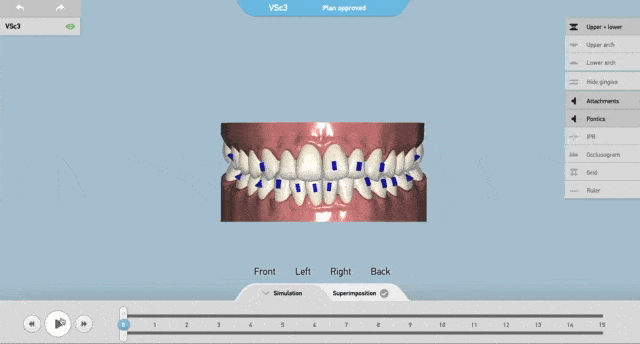
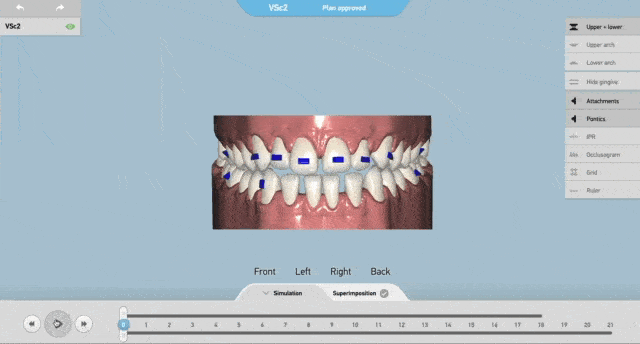
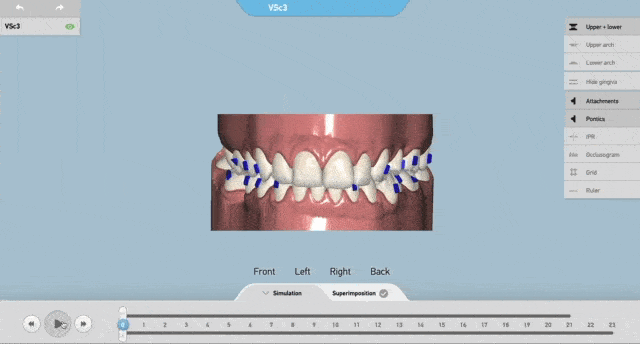
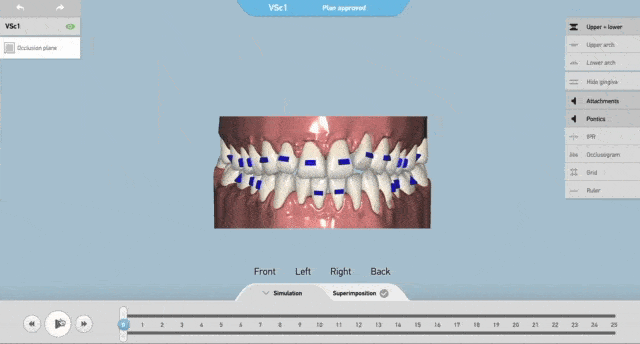
Approve
Design
Design
View, Revise and Approve the eXceed 3D Aligner Plan

Fabricate
Aligners
Aligners
Use the eXceed Print Files to Produce Aligners In-House
Why choose eXceed?
100,000 Aligners' Plans Delivered since 2017
Cloud-Based SW
and Mobile Apps
and Mobile Apps
Every Plan Inspected by a
Certified Orthodontist
Certified Orthodontist
Dedicated Patient App to
Discuss Plans and
Track Progress
Discuss Plans and
Track Progress
Supporting the Full
Production Cycle,
from Submission to Case
Labelling
Production Cycle,
from Submission to Case
Labelling
eXceed Aligner Plans
Get in Touch with eXceed
Schedule a Demo